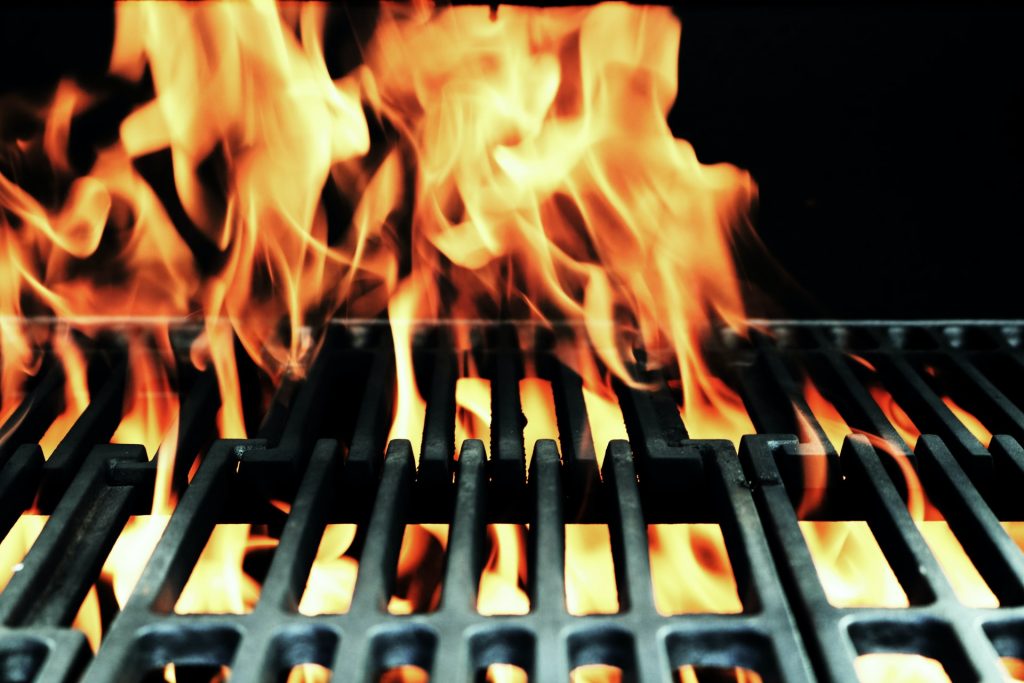
Do you have a BBQ grill that’s been benched for the past few years because it broke and you haven’t remembered to get it repaired? This is your sign to get it repaired! COVID-19 has kept most of us from grilling with friends for the past few years, but this summer can be different. Here’s why you should repair your BBQ before summer.
Grilling with Friends Is Safe
Even if you still prefer to wear a mask, we’ve learned through trial and error that meeting with people outdoors is the safest way to socialize. So long as your gathering is small and you all stay outside, there’s virtually zero risk of spreading COVID-19. So, even the most COVID-conscious of your friends and family have little to worry about from sitting on your deck for a few hours and eating some burgers.
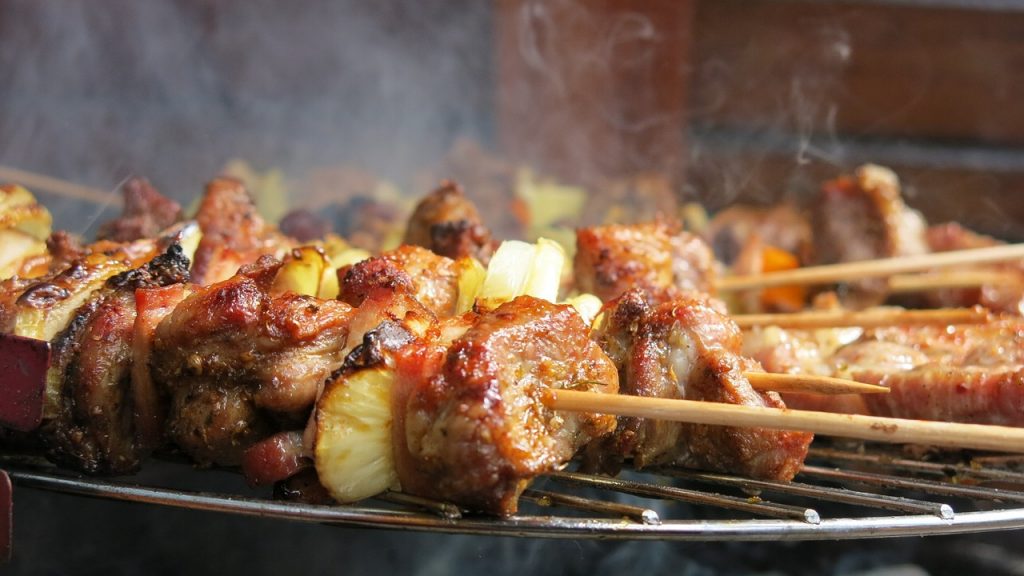
Having a Cookout Is a Great Pick-Me-Up
We’ve been battling COVID-19 and avoiding socializing for over 2 years now. The summer warmth making the outdoors a viable meeting place means we should take advantage of it while it’s here. Use the opportunity to socialize outdoors to lift your spirits and the spirits of those around you. You would be surprised how long a single cookout can sustain you when you’ve barely seen any of your friends in months.
Prevent Worse Damage
If your BBQ is broken or something is keeping it from working, leaving it unrepaired can lead to further damage. Using your grill fairly regularly allows you to regularly assess the state it’s in. If you keep the grill in a garage or shed and never look at it because it’s not currently usable, there’s a good chance you won’t notice if something else goes wrong.
To keep your grill from getting worse, repair your BBQ grill sooner rather than later. This can save you money in the long run when you don’t have to completely replace it.
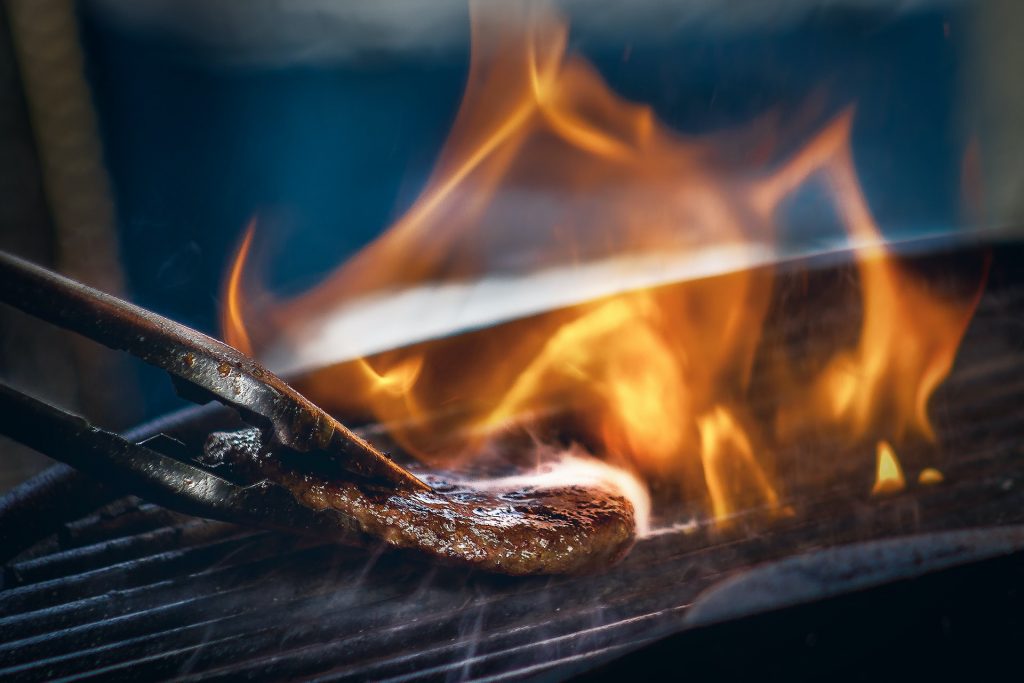
Get Help from BBQ Pros
BBQ Pros are Toronto’s leading BBQ and grill experts. We can have your grill back in working order in no time. Plus, if it’s been a while since you last used it and you packed it up in a hurry when it broke, it might not have gotten cleaned properly. Our team at BBQ Pros can do a full clean of your BBQ while repairing it. If your BBQ has seen significantly better days, we can also do a full detail clean. This involves removing rust and painting over chipped parts of a glossy grill to restore it to like-new condition.
Give us a call if you want to repair your BBQ before summer arrives. We look forward to spreading some cheer in the form of a good old fashioned cookout.